GOQii

Blog

  • HOME
  • HEALTHY LIVING
  • FITNESS
  • HEALTHY RECIPES
  • USER STORIES
  • KARMA
  • BUY GOQii

Search Results for: tea recipe

June 14, 2016 By Gouri Priya Mylavarapu Leave a Comment

Delicious Recipes from Ragi

1.

After a long summer vacation kids are getting back to school. School life is tiring and we all have gone through it. It’s through these growing years that children need good nutrition and what if this nutrition can be made tasty and interesting with newer recipes time and again.

Here are a few healthy recipes that can be made with Ragi

  1. Ragi Porridge

Ragi Porridge

Ingredients

  • Ragi Flour 30gms
  • Water 200ml
  • Salt/ Jaggery
  • Milk 3 tbsps/ Buttermilk 50ml
  • Ghee 1 tsp

Procedure:

  • Take a pan and fill in the pan with water and allow it to boil.
  • Once the water starts boiling add jaggery or salt depending on the type of porridge. Then add ragi slowly while stirring in the water and prevent lumps formation.
  • Stir continuously till ragi is cooked for 5 minutes.
  • Once ragi is cooked add milk or buttermilk and turn off the heat.
  • Serve ragi hot with ghee and topped with nuts like almonds or walnuts.

Notes:

  • Ragi porridge is a simple yet healthy recipe that an infant can start their food with ragi apart from rice which is used as their first food.
  • Ragi is gluten free, hence it is given to people having gluten intolerance too.
  • It is less allergic unlike oats and thus, can be used as a universal food.
  • People who don’t take milk can substitute ragi for good calcium in their diet.
  • As we know ragi is a millet that is rich in calcium and iron. It also has good B complex vitamins.
  • It can be had as a breakfast option or mid morning snack too.
  • Can be used in weight loss diets too.

Preparation Time: 5 mins

Cooking Time: 5 mins

Serving size: 1 No.

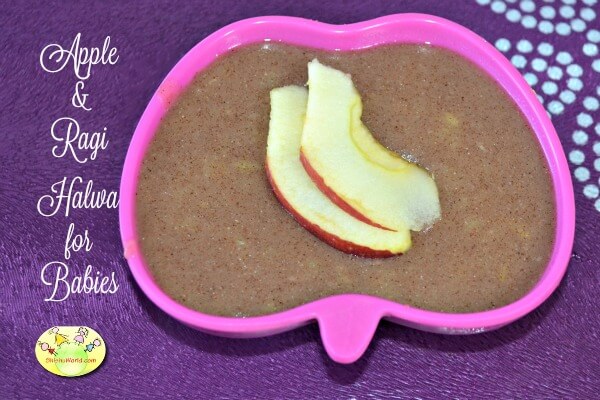
  1. Apple and Ragi Halwa

apple-raga-halwa

Ingredients:

  • Apple 1 no.
  • Ragi 3tbsps
  • Ghee 1 tsp
  • Water little
  • Cinnamon powder a pinch
  • Jaggery 2 tsps

Procedure

  • Soak apple in salt water to wash off the pesticides on the skin for few minutes.
  • Grind the apple with skin or without skin and keep aside.
  • Take a pan, add water and jaggery and allow it to boil.
  • Once the water starts boiling add ragi flour and stir continuously and mix together to remove lumps.
  • Once ragi is cooked, add ghee and grounded apple paste to the ragi and mix well.
  • Stir it together for few seconds and switch off the heat.
  • Make sure we are not cooking apple too much.
  • Serve hot or refrigerate it for half an hour and serve with Grated nuts.

Notes:

  • Ragi is used for its good iron and calcium content. It’s as filling as our routine cereals we take.
  • Its best used for kids as ragi helps in bone formation and healthy teeth too.
  • It’s easily cooked and mixed with various ingredients to make it healthier as we mixed apple that is rich in soluble fiber and also Vitamin C and made the recipe more nutritious.
  • Best for breakfast option and evening snack once the kids come back from school , this recipe can be served to replenish their nutrition.

Preparation time: 2 mins

Cooking time: 7 mins

Serving Size: 1 no.

  1. Ragi Idli

ragi-idli-recipe

Ingredients:

  • Idli Rice/ or idli rawa -1 cup
  • Ragi flour/finger millet flour -2 cups
  • Whole Urad dal (whole/without skin) – 1 cup
  • Fenugreek seeds -1/2 tsp
  • Salt as needed

Procedure:

  • Wash and soak urad dal + fenugreek seeds for 4 hours. Wash and soak rice separately for 4-5 hours or we get lidi rawa separately which can be soaked and added directly to urad dal after grounded.
  • Grind urad dal adding water little at a time until smooth and fluffy. Remove and keep it in a vessel.
  • Grind rice adding water from time to time to a slightly coarse batter.
  • Now add the urad dal batter, ragi flour and salt to the rice batter and grind everything together until well mixed. The consistency of the batter should be similar to idli batter (neither too thick nor too thin).
  • Remove from the wet grinder and mix it well with your hands. Leave it to ferment overnight or for 7-8 hours. Use a big vessel to prevent it from over flowing as it will double while fermenting. Our Ragi Idli batter is ready.

Method

  • Heat water in an idli vessel or steamer. Mix the fermented ragi idli batter well and pour a ladle of batter into the idli molds and place it inside the steamer or idli cooker.
  • Steam cook for 10-15 minutes or until a toothpick inserted in the center of the idli comes out clean. Once done sprinkle water and remove from the mold after 2-3 minutes.
  • Serve hot with sambar or chutney of your choice.

Notes:

  • Ragi idli is a steamed recipe and it will gain lot of nutritional value.
  • Best had for breakfast options. It is also a good tiffin option for school or evening snack once the child returns from school
  • Easily digestible and has good probiotic bacteria as it is fermented.
  • Calcium rich with less fat.

Preparation Time: 30mins

Cooking time : 20 mins

Serving size: 4 no.s

  1. Ragi coconut cookies

ragi biscuit

Ingredients:

  • ¾ cup desiccated coconut / dried coconut
  • ¾ cup ragi flour / finger millet flour (can use even ragi puttu podi for the best crust)
  • ½ cup wheat flour or plain flour/ maida (if possible use unbleached flour)
  • 150 grams unsalted butter
  • 150 grams jaggery
  • 1 tbsp. honey
  • 1 to 2 tsp. Vanilla extract
  • 1 small egg

Procedure:

  • Take butter and jaggery in a bowl and beat them together till light and fluffy.
  • Once it is done add egg and beat it in a blender. Also add vanilla extract and mix well
  • Now add coconut, wheat flour and maida. Blend them continuously.
  • Once a moist dough is formed, sprinkle honey all over evenly and mix it.
  • Cover and refrigerate for at least 1 hour.
  • Preheat the oven to 180 C for at least 15 mins.
  • Make balls and flatten them slightly on the baking sheet.
  • Bake the balls till done. It may take around 10 mins.
  • Make these in batches till the entire dough is finished.
  • Cool the ragi biscuits on a wire rack. Store in an airtight container and use up within 2 weeks.

Notes:

  • These biscuits are very healthy and has good energy.
  • Can be used as an interval snacks for the kids instead of regular biscuits as these contain ragi which has calcium and iron.
  • As they contain wheat flour too fiber is also well incorporated in the recipe.
  • Kids like cookies and tend to go out and buy them. Instead these can be prepared at home with good sanitation and hygiene.
  • Overall, nutritious and kids love biscuits as their snacks, Hence, a well nutritious and filling recipe.

Preparation Time: 1hr

Cooking time: 10mins

Serving size: 4 no.s of biscuits.

  1. MULTI GRAIN DOSA

ragi-dosa

Ingredients:  1:4 ratios

  • 1 cup Urad dal (soak separately)
  • 1 cup of each jowar , ragi, bajra, brown rice ( anyother millet combination) (soak all together)
  • 2 tsp methi seeds
  • Salt

Preparation:

  • Soak
  • Grind all together and make a batter.
  • Leave it to ferment.
  • Add salt just before cooking
  • Make dosa on the pan and serve hot.

Notes:

  • Because of the colour of ragi, dosa is modified to be mixed with different grains and made acceptable to the eyes. As it is said, we eat first with our eyes.
  • We can mix only ragi and dal and rice and make dosas. But, making a multi grain dosa will also give various nutrients that each ingredients have.
  • Kids usually get bored with regular breakfast options hence, such innovative and different ingredients should be used to get various nutrients.
  1. Ragi and Nuts laddoo

ragi-ladoos2

Ingredients:

  • Ragi 3 tbsps
  • Almonds 4 nos.
  • Walnuts 4 no.s
  • Coconut 1.5 cup
  • Elaichi 4 no.s
  • Jaggery 1 cup
  • Sesame seeds 2 tbps

Procedure:

  • Roast ragi flour in 1 tbsp. ghee till it turns aromatic.
  • Dry roast almonds, walnuts and set aside
  • Lightly roast coconut and sesame seeds. Cool them.
  • Grate jaggery and set aside.
  • Now blend dry ingredients together or separately i.e., almonds, walnuts, coconuts, sesame seeds and elaichi
  • Now add Ragi flour in the blender and jaggery and blend well.
  • Let the oil in the nuts and other ingredients ooze out and mix well in the blender.
  • Make balls while the mix is still warm. If needed add melted warm ghee and make balls.
  • Ragi and nuts laddoo are ready to eat.

Notes:

  • As it is laddoo kids like to carry them in their wrist while studying or playing and eat.
  • They can be stored for weeks.
  • Most of the kids feel stressed up during their exams and tend to loose hair.
  • As ragi and nuts contain iron it will help them gain lustrous hair.
  • Also nuts contains good fats which will help the kids to have a good memory.

Preparation time: 20 mins

Cooking time: 10 mins

Serving size: 5 no.s of laddoos

  1. Ragi Banana Chocolate Cake

Ragi Banana Chocolate Cake

Ingredients

  • 1 cup all purporse flour
  • 1/2 cup finger miller flour (ragi flour)
  • 1/2 cup of cocoa powder
  • 2 teaspoons baking powder
  • 1/4 teaspoon salt
  • 3 large eggs or Flaxmeal Egg Replacer
  • 1-1/4 cup brown sugar
  • 1 teaspoon vanilla essence
  • 1 cup milk or almond milk (vegan)
  • 1 cup oil
  • 1 cup of mashed bananas

Directions for Ragi Banana Chocolate Cake Recipe

  • To begin making the Chocolate Banana Finger Millet Cake Recipe, first get all the ingredients ready.
  • Next, preheat the oven to 180 C and grease and flour a large loaf pan or a spring foam pan or a bunt pan
  • Sift the flours, cocoa powder, along with baking powder and salt. Keep aside. I like to double sift the flours as it incorporates a good amount of air.
  • In a large bowl add in the oil, sugar, eggs (Flaxmeal Egg Replacer), vanilla essence and milk. Beat together all the ingredients until combined.
  • Gradually beat in the flour mixture and finally the bananas. Beat until all the ingredients are well combined.
  • Pour the cake batter into the greased pan, place it into the oven to bake for about 35 to 45 minutes until a tester when inserted inside comes out clean.
  • Once the chocolate banana cake is baked, allow it to cool for a little bit before you can cut into slices.
  • Serve the Healthy Finger Millet Banana Chocolate Cake along with tea or coffee or even as a healthy snack for the kids.

Note:

  • Cakes are delicious, and healthy if ingredients are planned well.
  • We buy cakes from outside to celebrate birthdays, anniversarys etc. Cakes are a token of celebration.
  • When prepared at home, we can plan healthy nutrients and prevent bacterial contamination and prepare hygienically.
  • As kids love cake delicacies, they can get good nutrients like calcium, iron, good calories too from ragi and as we are adding banana it had good antioxidants like zinc and gives us energy too.

Preparation time: 1 hr

Cooking time: 40 mins

Serving size: Half a kg cake

Let’s make healthy combinations for the kids and make them happy and stay healthy.
November 18, 2015 By GOQii Editor Leave a Comment

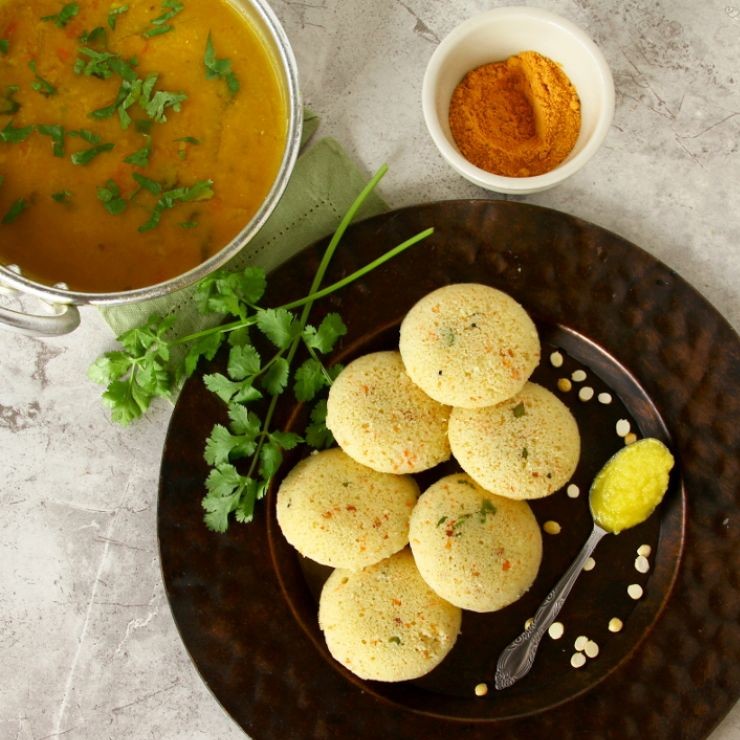
Rava Idli (Steamed Savory Semolina Cakes)


RAVA IDLI

A quick and healthy Indian breakfast, which energizes you for the rest of the day

Cooking time-45 mins

Serves- 4

Recipe ingredients

  • Oil or ghee – 2 tsp
  • Cashew nuts – 4-5, broken
  • Mustard seeds – 1/4 tsp
  • Urad dal – 1 tsp
  • Rava/sooji/semolina – 1 1/2 cups
  • Ginger – 1 tbsp, grated or finely chopped
  • Green chili – 1, finely chopped
  • Curry leaves – 6-8, cut into thin ribbons
  • Cilantro leaves – 2 tbsp, chopped
  • Carrot – 1 medium-sized, shredded
  • Yogurt – 3/4 cup
  • Salt – 1 tsp
  • Baking soda – 1/4 tsp

Recipe preparation

  1. Heat oil (or ghee) in a large skillet. Fry the cashews, drain and keep aside.
  2. Then add the mustard seeds and urad dal. Fry till the seeds crackle and the urad dal turns light golden.
  3. Then add the rava/semolina and roast for a couple of minutes on medium heat, stirring all the while.
  4. Remove this to a mixing bowl and cool slightly. Then add the fried cashews, ginger, green chili, curry leaves, cilantro and carrots. Sir to combine, add yogurt, mix well till it the mixture is uniformly moistened.
  5. Add a little water to make a smooth, but thick batter. The batter should be thicker than a regular pancake or dosa batter. Cover the bowl and rest for half an hour.
  6. After half an hour, add salt and baking soda to the batter and mix well. Adjust with a bit of water if batter seems to have thickened further.
  7. Meanwhile, heat water in a steamer vessel. Grease and set aside the idli plates.
  8. Pour batter in the idli plates and steam in the steamer vessel for 8-10 minutes or till idlis are cooked (check with a toothpick to see if it comes clean).
  9. Remove from steamer, rest for 5 minutes and remove the idlis from the idli plates using a spoon.
  10. Serve idlis immediately with hot sambar and spicy chutney powder. Store leftovers in a hot-pot or casserole. These can be re-heated in the microwave or lightly steamed again.


For more recipes please visit www.betterbutter.in

April 22, 2023 By Palak Mittal 1 Comment

Refreshing Low Calorie & Nutritious Summer Drinks

Summer drinks recipe

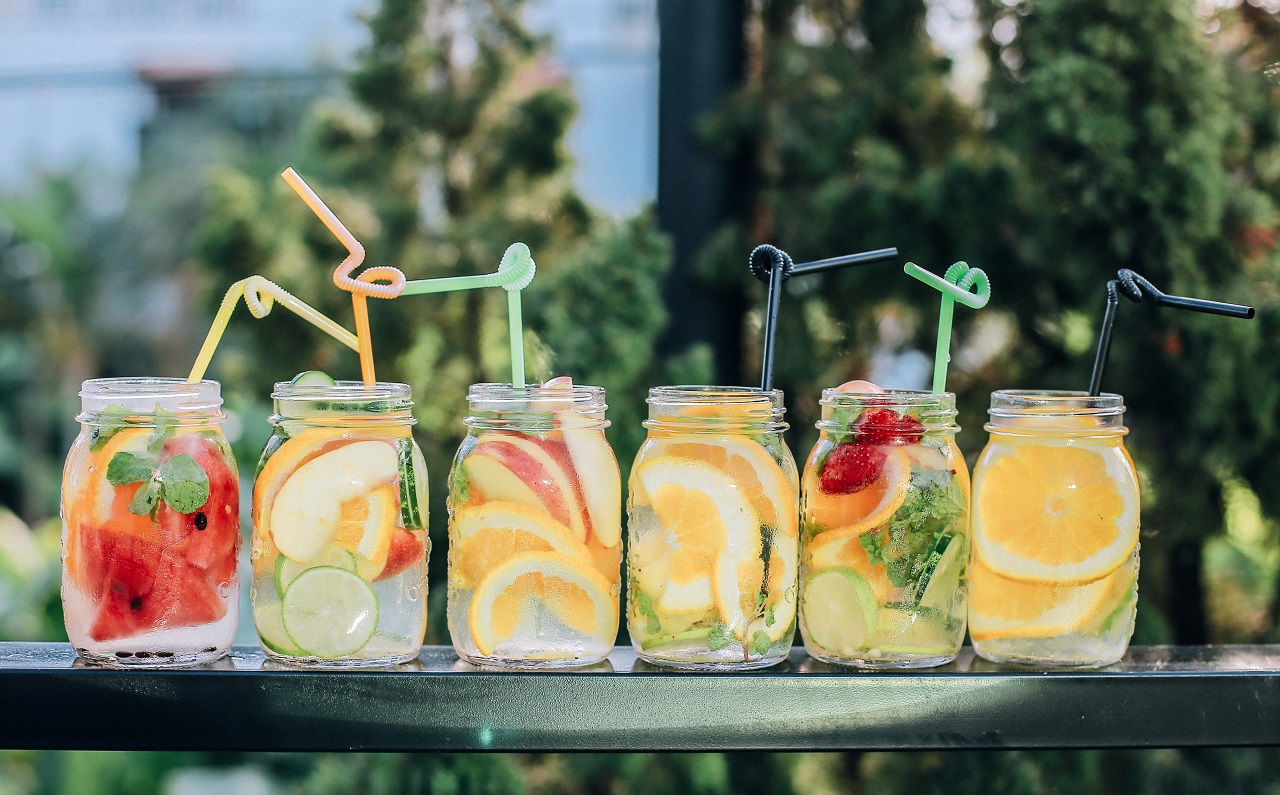
There is nothing in the world that spells summer better than an afternoon spent lounging by the pool with an icy cold beverage in hand! Like me, how many of you have been craving something chilled throughout the day? While the idea of consuming a refreshing summer drink is plagued with thoughts of weight gain and the fact that most of these drinks are loaded with sugar, we thought of a few drinks that are low on calories and high on health. Try these refreshing summer drinks to beat the heat!

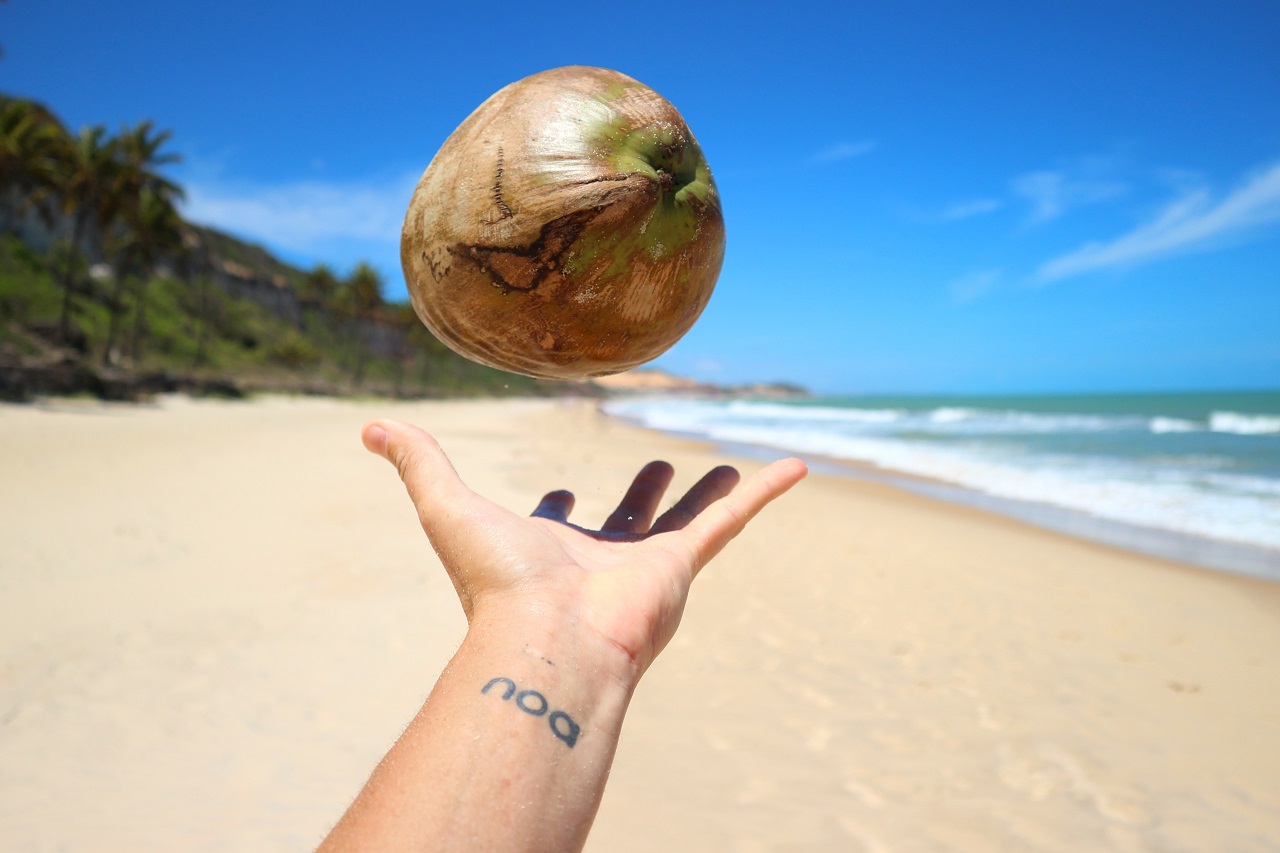
1. Coconut Water

Coconut Water is a beautifying beverage worth sipping all year long! It’s slightly sweet taste is particularly refreshing during summer. In addition to guzzling coconut water post-hot yoga flow or mixing it in to your A.M. smoothies, there are many other ways to enjoy it. Think on a popsicle stick, in a pudding and what not. Try adding some crushed mint leaves and lime juice to usual coconut water to make it more interesting.

2. Peppermint Tea

peppermint tea recipe

Peppermint Tea is a delicious and relaxing beverage that has numerous health benefits. Whether you are preparing it from a tea bag or using fresh leaves, peppermint tea can be made in a matter of minutes. Introducing a batch of iced peppermint tea to a summer party is an invigorating experience! All you’ll need is:

  • 3-5 mint tea bags (or 30 fresh peppermint leaves)
  • 4 cups (32 ounces) water
  • Lemon or honey to taste (optional)

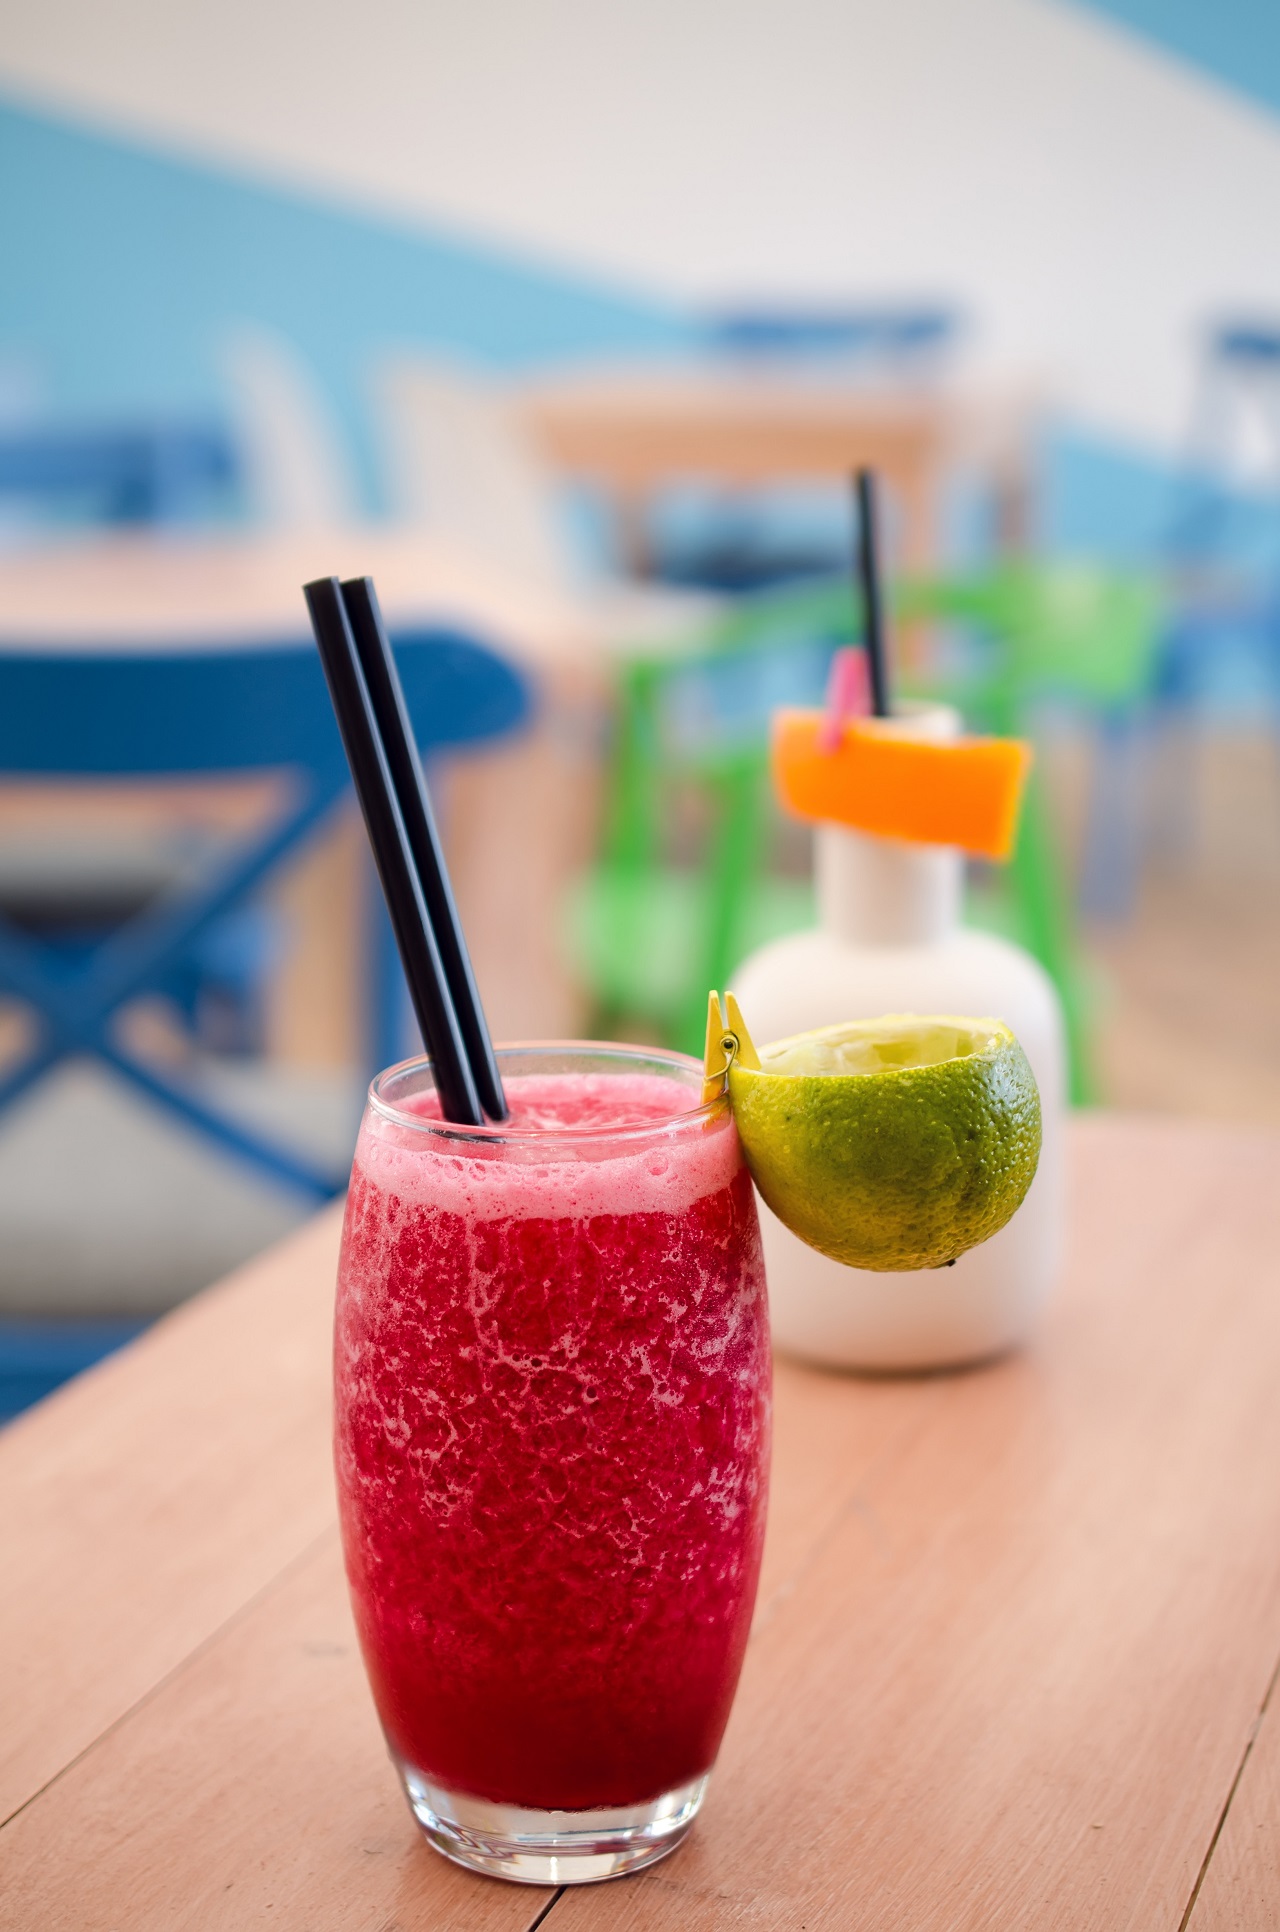
3. Watermelon Lime Juice Cooler

watermelon lime cooler recipe

This super refreshing Watermelon Lime Cooler is a great way to beat the heat on hot summer days. Best of all, it takes a few minutes to prepare.

What you need is:

  • 2 cups chilled Watermelon chunks
  • 1 tbsp Lime Juice
  • Ice Cubes
  • Few Basil or Mint Leaves
  • 2 cups Seltzer or Club Soda (240ml)

Blend Watermelon chunks and Lime juice in a blender. Serve chilled.

4. Cucumber Mint Squash

cucumber mint squash recipe

Another tangy yet delicious drink loaded with detox properties. It is a perfect blend for a hot afternoon!

What you need is:

  • Mint leaves – 1 cup
  • Cucumber – 1/2 cup
  • Lemon juice – 1 1/2 tbsp
  • Water – 2 cup
  • Honey – 1 tbsp to taste
  • Salt – 1/2 tsp (to taste)

Blend everything in a blender. Add lemon juice after blending and mix it well. Filter the juice through a sieve and check the seasoning. Add if required. Serve chilled with ice cubes.

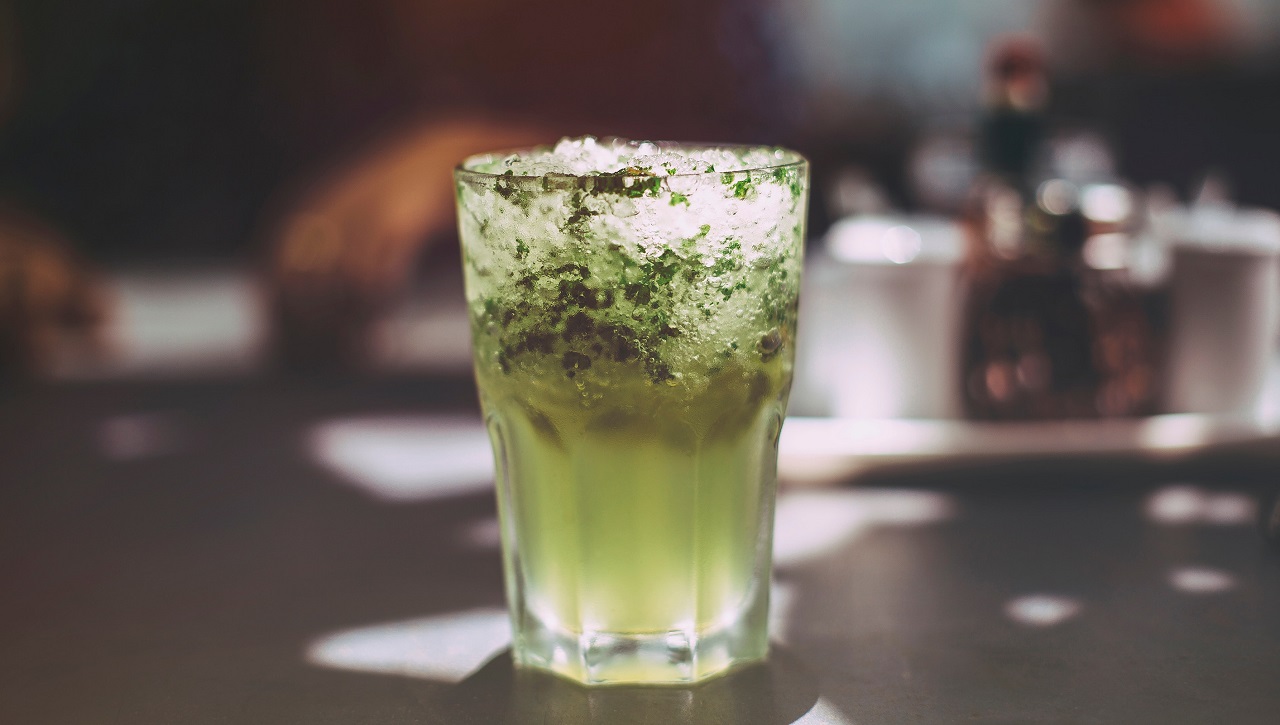
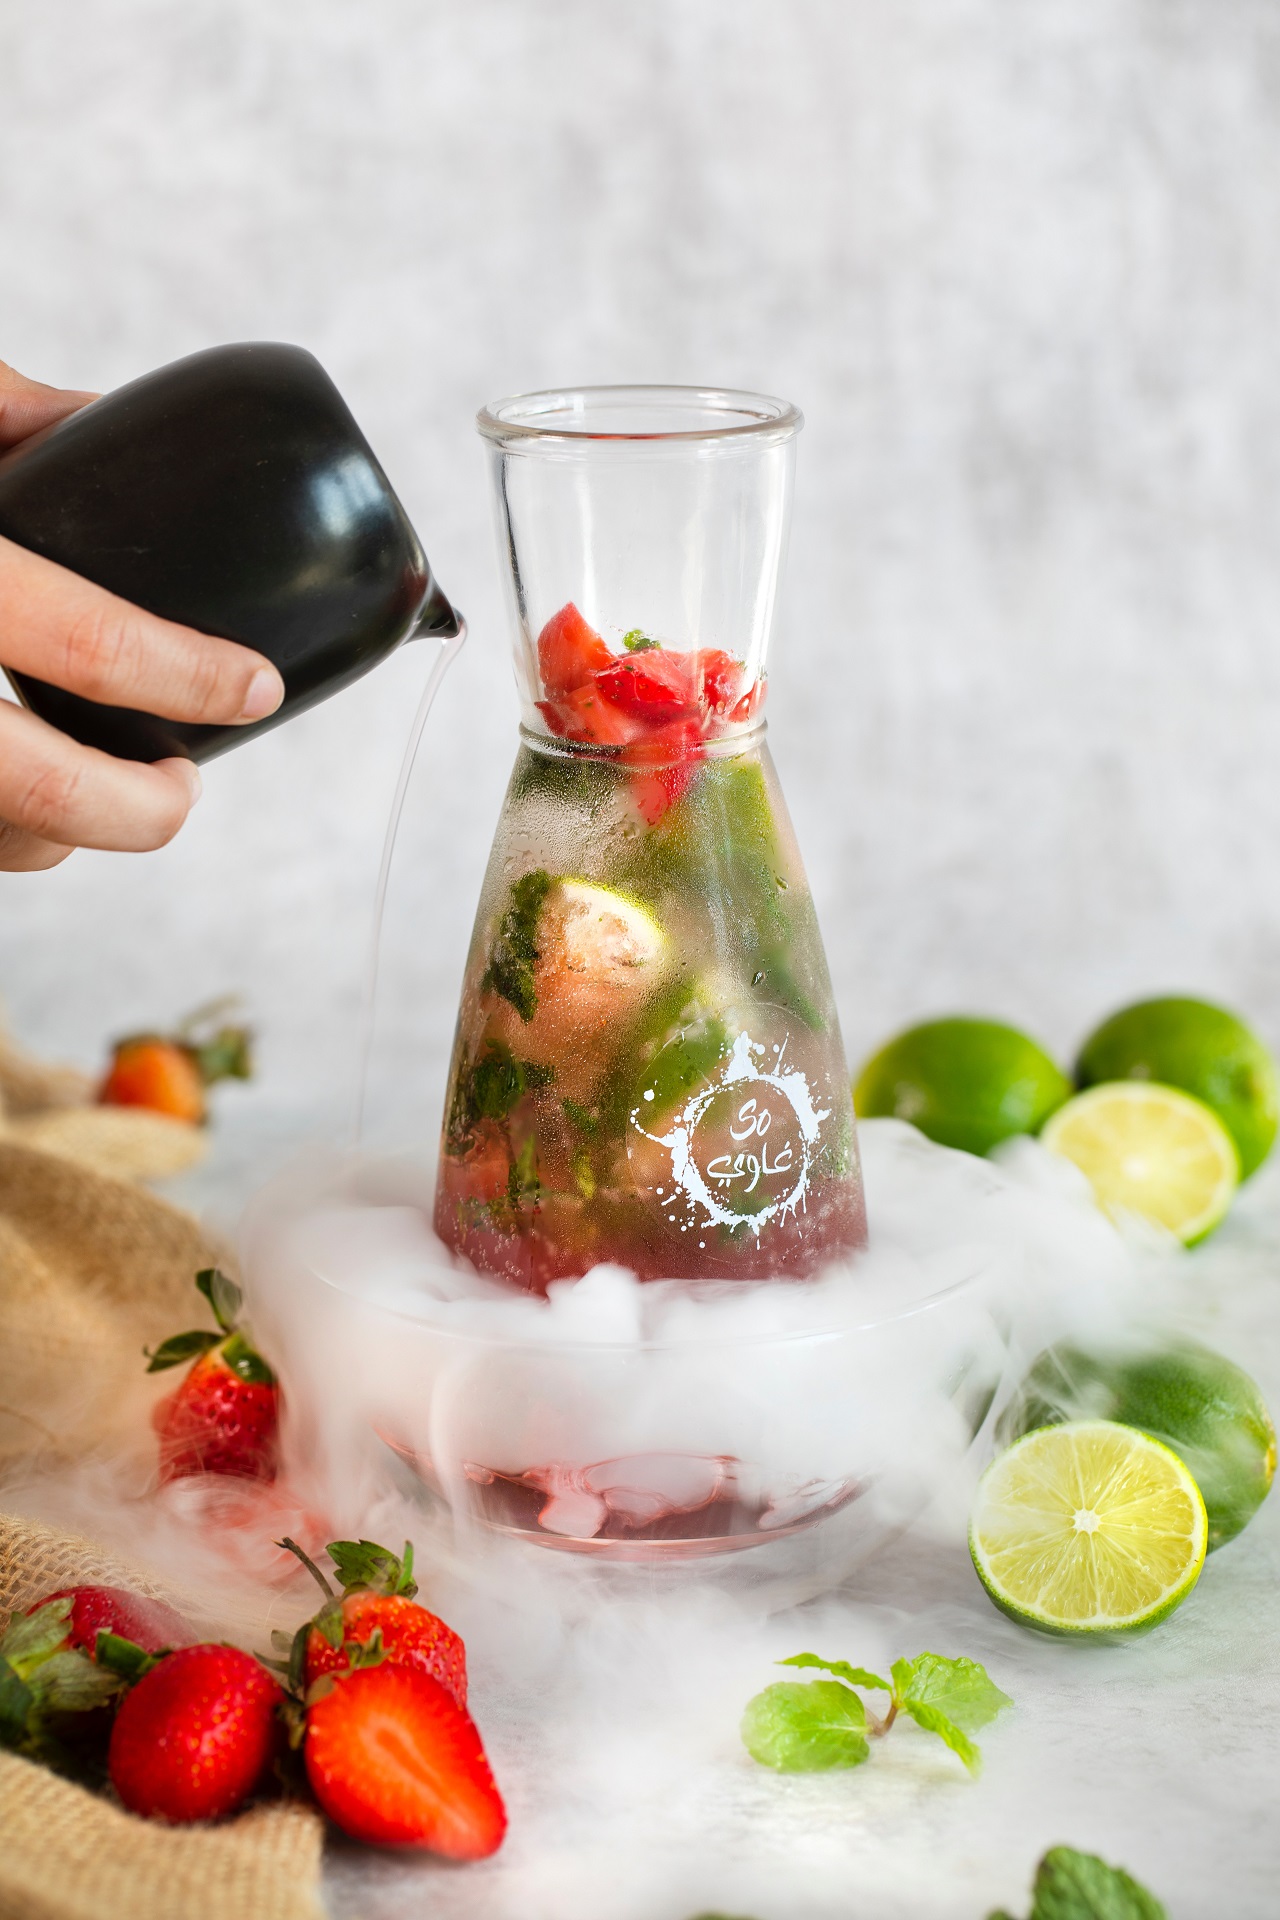
5. Strawberry Lemonade

strawberry lemonade recipe

There’s nothing that beats homemade lemonade, except adding strawberries to the mix!

What you need is:

  • 2 cups fresh strawberries
  • 3/4 cup freshly squeezed lemon juice, about 5 lemons
  • Chilled Water
  • 1 extra lemon, thinly sliced

Add strawberries and lemon juice to a blender and pulse until strawberries are liquid. Pour juice into a 1/2 gallon pitcher, add slices of lemon, and fill with chilled water. Don’t over fill pitcher with water, add just enough to make 1/2 gallon.

Try these delicious recipes out and let us know which ones were your favorites.

Were these recipes helpful? Want more? Get them here. You can also get these recipes directly from a GOQii Coach by subscribing for Personalised Health Coaching here.

#BeTheForce

July 24, 2026 By Urvi Gohil 2 Comments

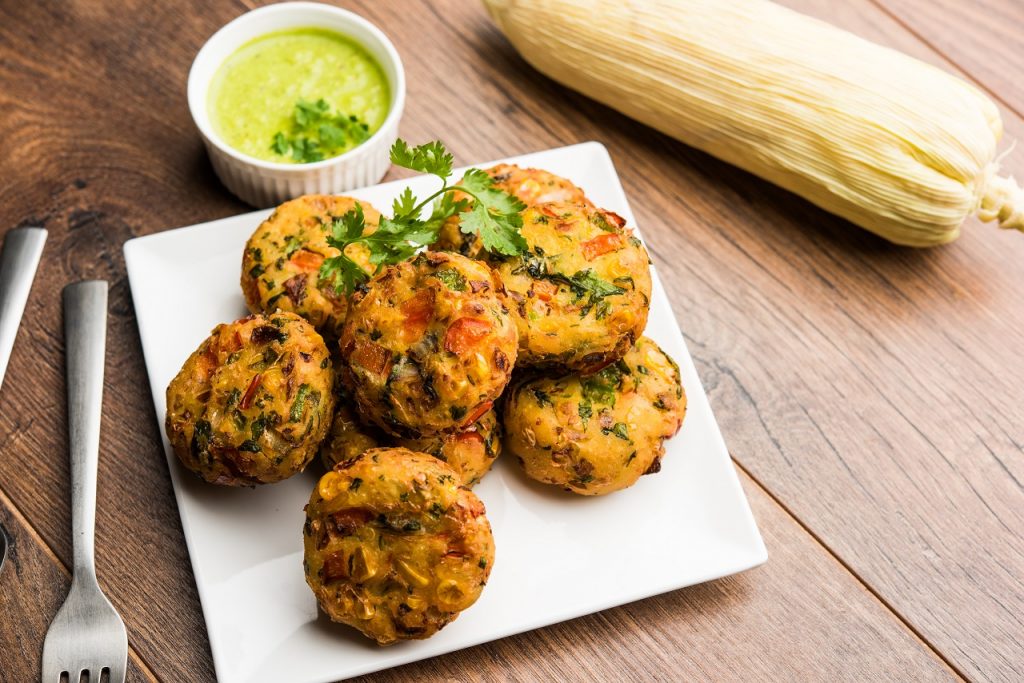
Healthy Eating: Crispy Monsoon Corn Tikkis

Healthy RecipeThe Big Question: Can you enjoy crispy monsoon snacks without compromising your health goals?There’s something undeniably comforting about the aroma of roasted corn during the rainy season. Whether it’s a steaming boiled cob or a smoky street-side bhutta, sweet corn has long been one of the highlights of the monsoon. But along with the rains come intense cravings for deep-fried pakodas, cutlets, and other indulgent snacks.
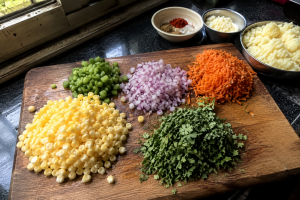
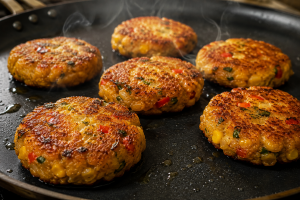

The good news? You don’t have to give up the crunch to make a healthier choice. These pan-roasted Corn Tikkis deliver the exact same satisfying texture and comforting flavours while using wholesome ingredients and significantly less oil than traditional deep-fried versions.

Why You’ll Love These Healthy Corn Tikkis

These tikkis are not only delicious but also packed with ingredients that contribute to a balanced diet:

  • Supports Eye Health: Sweet corn contains lutein and zeaxanthin, two naturally occurring carotenoids that help support eye health and may contribute to protecting vision as we age.
  • Provides Dietary Fibre: Corn and added vegetables contribute dietary fibre, which supports healthy digestion and promotes satiety, helping you stay fuller for longer.
  • Adds Colour and Nutrients: Capsicum, carrots, and fresh coriander add colour, flavour, and a variety of vitamins, minerals, and antioxidants that support overall immune health.
  • A Healthier Way to Enjoy Comfort Food: Instead of deep-frying, these tikkis are pan-roasted using minimal oil, helping reduce the overall fat content while still achieving a perfect, crisp exterior.

Recipe Overview

  • Preparation Time: 20 minutes
  • Cooking Time: 15 minutes
  • Total Time: 35 minutes
  • Makes: 8 tikkis
  • Serves: 4

Ingredients

The Base

  • 1 cup boiled sweet corn kernels (coarsely ground)
  • 2 tbsp whole boiled corn kernels
  • ½ cup mashed boiled potatoes
  • 2 tbsp wheat rusk powder (for coating)
  • 1 tsp oil (for roasting)

The Vegetables

  • 2 tbsp finely chopped capsicum
  • 2 tbsp finely chopped onion
  • 2 tbsp grated carrot
  • 2 tbsp chopped fresh coriander

The Flavouring

  • 1 tbsp ginger paste
  • 1 tsp green chilli paste (adjust to taste)
  • 1 tsp red chilli powder
  • 1 tsp coriander-cumin powder
  • ½ tsp garam masala
  • Salt to taste
  • Chaat masala (optional)

Method

Step 1: Cook the Corn Mixture – Heat a teaspoon of oil in a non-stick pan. Add the ginger paste and sauté briefly. Add the coarsely ground corn and cook over medium heat for 4–5 minutes until most of the moisture evaporates. This helps prevent the tikkis from becoming soft or breaking during cooking.

Step 2: Prepare the Mixture – In a large bowl, combine the mashed potatoes, whole corn kernels, cooked corn mixture, capsicum, onion, carrot, and fresh coriander. Mix well.

Step 3: Season – Add the green chilli paste, red chilli powder, coriander-cumin powder, garam masala, salt, and chaat masala. Mix thoroughly until everything comes together into a soft, pliable dough.

Step 4: Shape the Tikkis – Lightly grease your palms. Shape the mixture into evenly sized round tikkis (cutlets). Roll each one gently in the wheat rusk powder for a light, crispy coating.

Step 5: Pan Roast – Heat a non-stick tawa or pan and brush it lightly with oil. Cook each tikki for about 4–5 minutes per side over medium heat until golden brown and crisp.

Step 6: Serve – Serve hot with fresh mint chutney, a mint-yoghurt dip, or coriander chutney. (Skip sugary ketchup if you’re trying to keep added sugar low!)

Approximate Nutrition (Per Serving – 2 Tikkis)

  • Calories: ~170 kcal
  • Protein: ~5 g
  • Carbohydrates: ~28 g
  • Fat: ~4 g
  • Fibre: ~4–5 g

(Values are approximate and may vary depending on the specific ingredients used.)

Healthy Variations & Swaps

Want to customise the recipe? Try these easy swaps:

Replace Potatoes With:

  • Sweet potato
  • Boiled raw banana
  • Mashed pumpkin

Add More Protein: These additions make the tikkis more filling while increasing the protein content:

  • Crumbled paneer or Tofu
  • Cooked quinoa
  • Boiled chickpeas (lightly mashed)

Gluten-Free Version: Replace the wheat rusk powder with:

  • Oats powder (certified gluten-free, if required)
  • Roasted poha (flattened rice) powder
  • Rice flakes powder

Air Fryer & Oven Methods:

  • Air Fryer: Cook at 180°C for 12–15 minutes, turning halfway through.
  • Oven: Bake at 180°C for 18–20 minutes, flipping once for even browning.

Storage Tips

Perfect for quick weekday snacks!

  • Refrigerate uncooked tikkis for up to 2 days in an airtight container.
  • Freeze shaped tikkis for up to 1 month. Thaw them overnight in the refrigerator before pan-roasting.

Healthy eating doesn’t mean giving up the foods you enjoy. Simple swaps—like pan-roasting instead of deep-frying, adding colourful vegetables, and choosing wholesome ingredients—can make traditional favourites more nutritious without compromising on taste. These crispy Corn Tikkis are proof that comfort food and healthy eating can go hand in hand.

Pro Tip: Cravings are easier to manage when you plan ahead. Track your meals on the GOQii App and connect with your GOQii Personalised Health Coach for customised snack ideas, healthier recipes, and nutrition guidance that fits your goals and lifestyle.

Frequently Asked Questions (FAQs)

  1. Is sweet corn good for weight management?

Yes. Sweet corn provides fibre that promotes fullness and contains important vitamins and minerals. Since it is a starchy vegetable, portion size remains important as part of a balanced diet.

  1. Can I prepare these tikkis in advance?

Yes. Shape the tikkis and refrigerate them for up to two days before cooking. They also freeze well for up to one month.

  1. Why are my tikkis falling apart?

The mixture may contain excess moisture. Cook the corn thoroughly before mixing to evaporate the water. If needed, add a tablespoon of roasted besan (chickpea flour) or oats powder to improve binding.

  1. Can people with diabetes eat these Corn Tikkis?

Yes, in moderation. Since sweet corn contains carbohydrates, portion control is important. Pair the tikkis with a protein-rich accompaniment such as yoghurt or paneer and avoid sugary sauces. Individual dietary needs vary, so consult your healthcare provider or dietitian for personalised advice.

Eat Healthy and #BeTheForce

Disclaimer: This recipe is intended for educational purposes only. Nutritional needs vary from person to person. If you have diabetes, kidney disease, or other medical conditions requiring specialised dietary advice, consult a qualified healthcare professional or registered dietitian before making significant dietary changes.

  • « Previous Page
  • 1
  • …
  • 6
  • 7
  • 8
  • 9
  • 10
  • …
  • 33
  • Next Page »

Search

Recent Posts

  • Immunity-Boosting Kadhas: Why Natural Defense Matters During the Monsoon
  • Healthy Eating: Crispy Monsoon Corn Tikkis
  • Antenatal Exercises: Your Guide to a Fit and Healthy Pregnancy
  • Managing Type 2 Diabetes: Dietary Choices and Lifestyle Adjustments for Better Blood Sugar Control
  • Hormones and Longevity: Why Midlife Health Depends on Hormonal Balance

Stay Updated

Archives

  • July 2026 (22)
  • June 2026 (22)
  • May 2026 (20)
  • April 2026 (24)
  • March 2026 (18)
  • February 2026 (14)
  • January 2026 (14)
  • December 2025 (19)
  • November 2025 (15)
  • October 2025 (20)
  • September 2025 (6)
  • August 2025 (6)
  • July 2025 (10)
  • June 2025 (18)
  • May 2025 (16)
  • April 2025 (22)
  • March 2025 (26)
  • February 2025 (21)
  • January 2025 (25)
  • December 2024 (22)
  • November 2024 (22)
  • October 2024 (20)
  • September 2024 (22)
  • August 2024 (28)
  • July 2024 (16)
  • June 2024 (23)
  • May 2024 (26)
  • April 2024 (27)
  • March 2024 (27)
  • February 2024 (23)
  • January 2024 (21)
  • December 2023 (14)
  • November 2023 (10)
  • October 2023 (19)
  • September 2023 (22)
  • August 2023 (16)
  • July 2023 (18)
  • June 2023 (21)
  • May 2023 (20)
  • April 2023 (19)
  • March 2023 (23)
  • February 2023 (19)
  • January 2023 (15)
  • December 2022 (11)
  • November 2022 (15)
  • October 2022 (15)
  • September 2022 (12)
  • August 2022 (9)
  • July 2022 (17)
  • June 2022 (11)
  • May 2022 (10)
  • April 2022 (6)
  • March 2022 (6)
  • February 2022 (13)
  • January 2022 (11)
  • December 2021 (7)
  • November 2021 (3)
  • October 2021 (6)
  • September 2021 (3)
  • August 2021 (8)
  • July 2021 (7)
  • June 2021 (15)
  • May 2021 (16)
  • April 2021 (10)
  • March 2021 (7)
  • February 2021 (4)
  • January 2021 (4)
  • December 2020 (3)
  • November 2020 (4)
  • October 2020 (10)
  • September 2020 (3)
  • August 2020 (3)
  • July 2020 (2)
  • June 2020 (4)
  • May 2020 (10)
  • April 2020 (12)
  • March 2020 (10)
  • February 2020 (4)
  • January 2020 (4)
  • December 2019 (3)
  • November 2019 (7)
  • October 2019 (5)
  • September 2019 (4)
  • August 2019 (9)
  • July 2019 (9)
  • June 2019 (11)
  • May 2019 (4)
  • April 2019 (8)
  • March 2019 (8)
  • February 2019 (9)
  • January 2019 (8)
  • December 2018 (9)
  • November 2018 (3)
  • October 2018 (3)
  • September 2018 (5)
  • August 2018 (10)
  • July 2018 (6)
  • June 2018 (13)
  • May 2018 (8)
  • April 2018 (18)
  • March 2018 (9)
  • February 2018 (8)
  • January 2018 (15)
  • December 2017 (12)
  • November 2017 (19)
  • October 2017 (13)
  • September 2017 (15)
  • August 2017 (4)
  • July 2017 (8)
  • June 2017 (7)
  • May 2017 (6)
  • April 2017 (8)
  • March 2017 (6)
  • February 2017 (7)
  • January 2017 (9)
  • December 2016 (10)
  • November 2016 (7)
  • October 2016 (7)
  • September 2016 (7)
  • August 2016 (11)
  • July 2016 (9)
  • June 2016 (9)
  • May 2016 (12)
  • April 2016 (17)
  • March 2016 (17)
  • February 2016 (8)
  • January 2016 (6)
  • December 2015 (2)
  • November 2015 (9)
  • October 2015 (7)
  • September 2015 (9)
  • August 2015 (11)
  • July 2015 (9)
  • June 2015 (11)
  • May 2015 (9)
  • April 2015 (13)
  • March 2015 (8)
  • February 2015 (5)
  • January 2015 (12)
  • December 2014 (14)
  • November 2014 (11)
  • October 2014 (6)
  • September 2014 (13)
  • August 2014 (12)
  • July 2014 (6)
  • June 2014 (2)
  • May 2014 (7)
  • April 2014 (4)

From Burnout to Balance: How Dr. Ranjit Reclaimed His Health

Dr Ranjit Bhatt has spent years tending to others. A practising doctor in Odisha, his days were packed with patients, surgeries, and emergencies. From the outside, it looked like a life lived in service. But on the inside, something wasn’t right. “I had no … [Read More...]

From Shimla’s Slopes to Chandigarh’s Sidewalks: Surinder Kaur Bhalla’s Journey from Chaos to Control

Some journeys start with a plan. Others begin with a stumble literally. Surinder Bhalla, a government professional, born and raised in the scenic hill town of Shimla, had always lived a life of movement. “In Shimla, you walked everywhere,” she reflects. “Walking was never an exercise. It was just life.” But after shifting to Chandigarh, […]

“I’ve Challenged Myself to Live 100 Years” – The Story of Chandubhai Savani’s Second Chance at Life

At 67, most people start slowing down. Not Chandubhai Savani. A resident of Surat, Chandubhai, thought life was on track. “My life was going well till I had my bypass surgery,” he says. That surgery, back in 2021, was a wake-up call.  Medication was routine, but exercise wasn’t. His diet? What he calls ‘normal.’ “I […]

Ananda Mukherjee Health Story

From Terminal Illness To Complete Wellness! Ananda Mukherjee Health Story

As we observe World Cancer Day under the powerful theme ‘United by Unique’ (2025-2027)**, we are reminded that every individual’s journey with cancer is distinct, yet united by shared resilience, hope, and the collective fight against this disease. This theme places people at the centre of care and their stories at the heart of the […]

  • HOME
  • HEALTHY LIVING
  • FITNESS
  • HEALTHY RECIPES
  • USER STORIES
  • KARMA
  • BUY GOQii

Copyright ©2016 GOQii