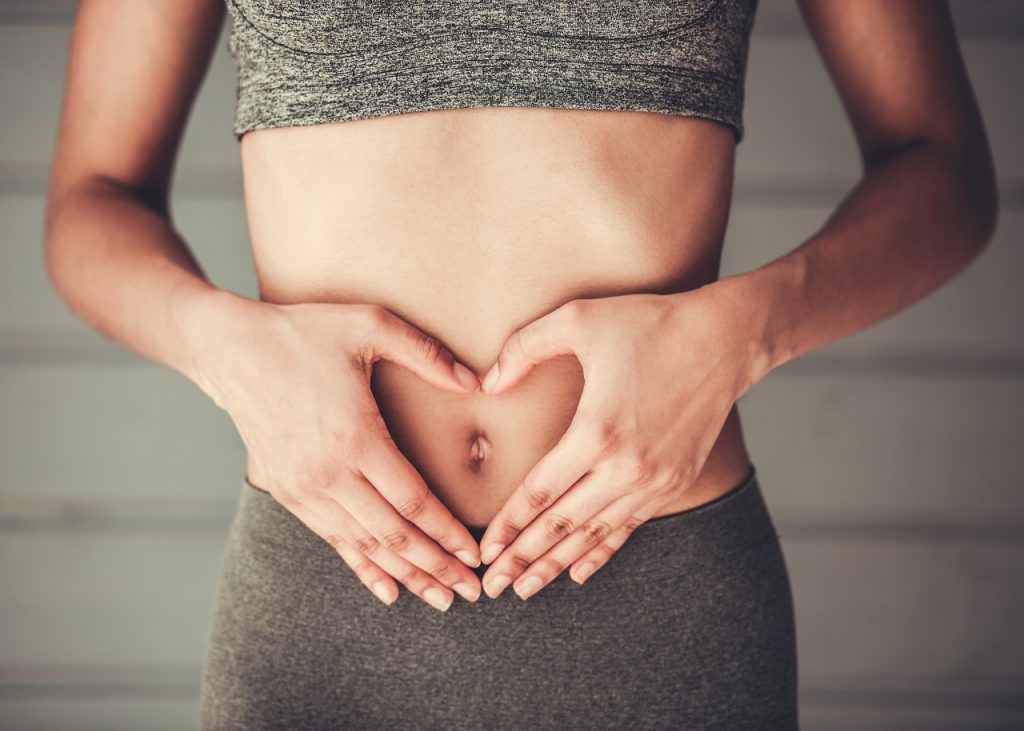
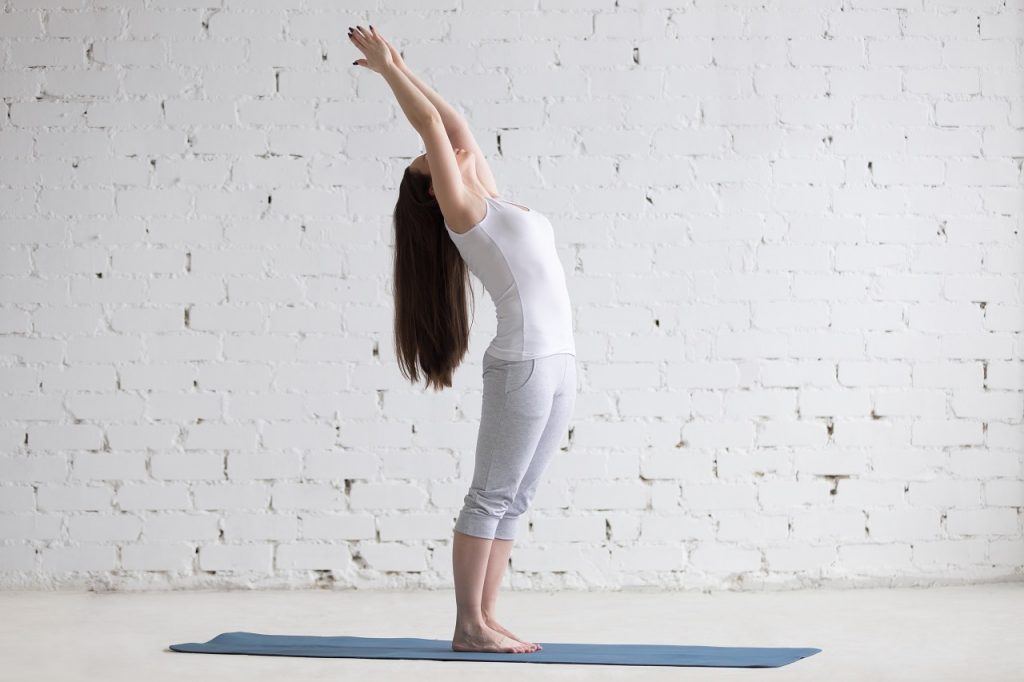
 Most of us feel bloated after a heavy meal or when we have some digestive problems or when we are stressed out. There is a feeling of fullness and tightness in the abdomen which may cause abdominal pain. Practising yoga improves digestion by increasing blood flow to your digestive tract and twisting poses compress and massage your internal organs, which help relieve bloating and gas.
Poses To Aid Digestion and Relieve Bloating
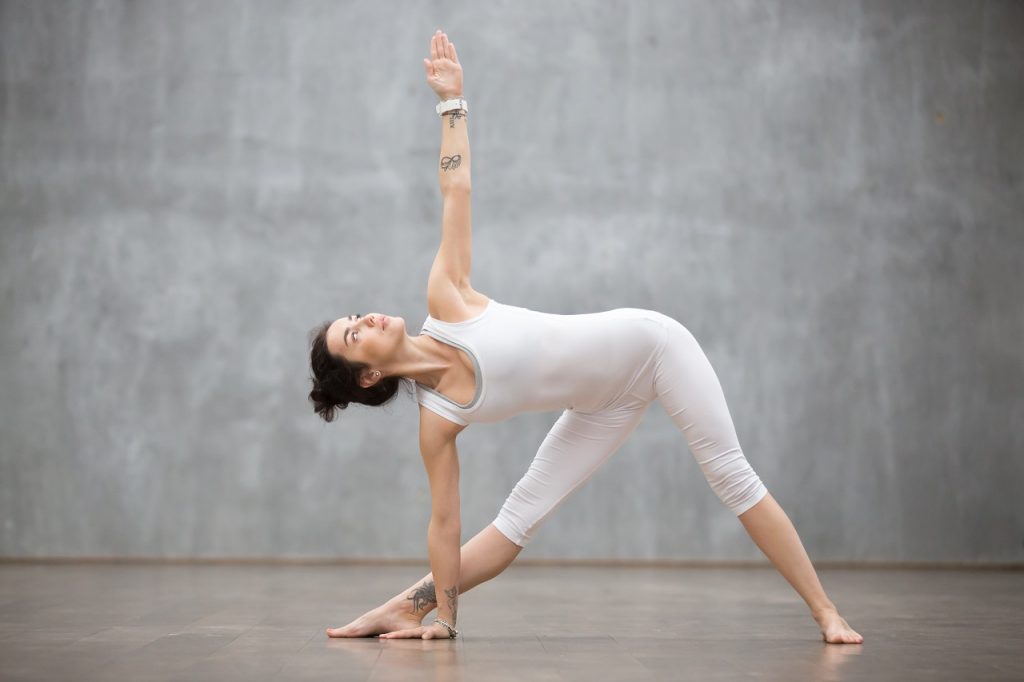
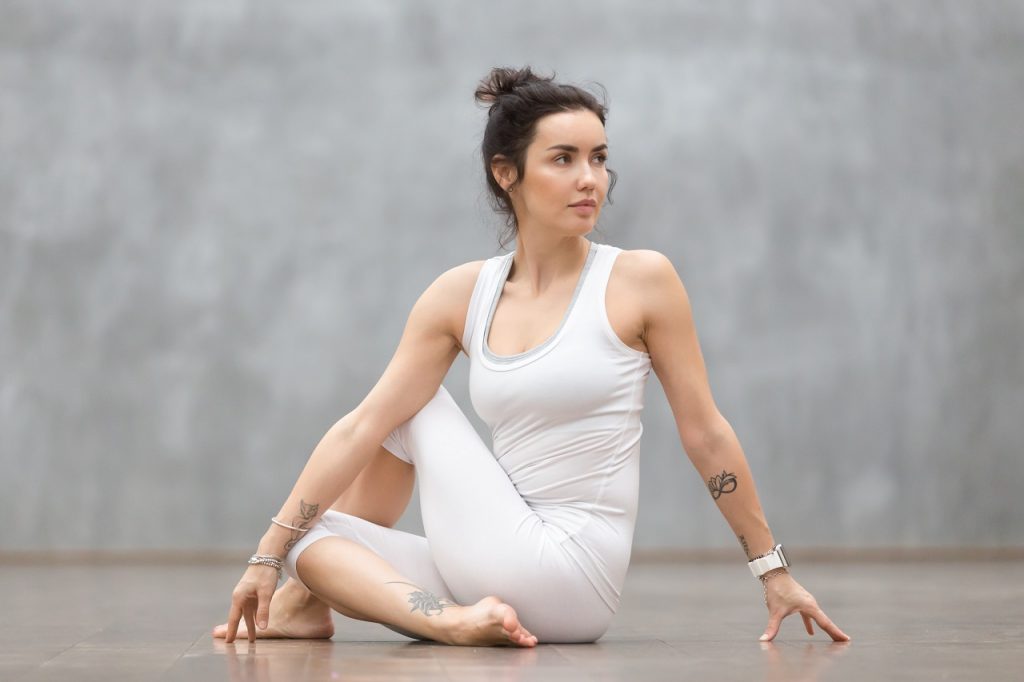
Try the yoga asanas below to help improve digestion and relieve bloating:
1. Apanasana
This asana is also known as the ‘wind relieving pose’. It not only helps to release the build-up of gas and improve digestion but also helps in detoxifying the entire system.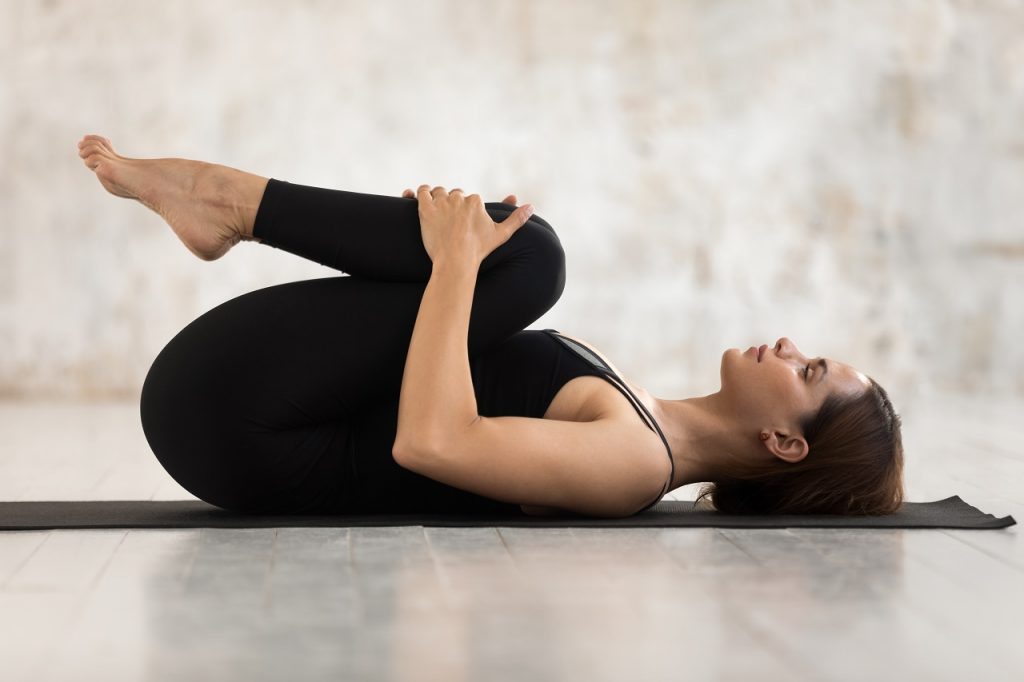
- Lie down on your back and place your hands on the knees
- As you exhale, hug your knees to your chest
- Rock your knees from side to side to maximize stretch
- Do this for five to ten breaths and release your knees
- When you inhale, loosen your grip to allow your legs to move away from your stomach
2. Supta Matsyendrasana
Also known as the Spinal Twist, this pose is great for digestion as it helps your blood flow through your body, especially your gut.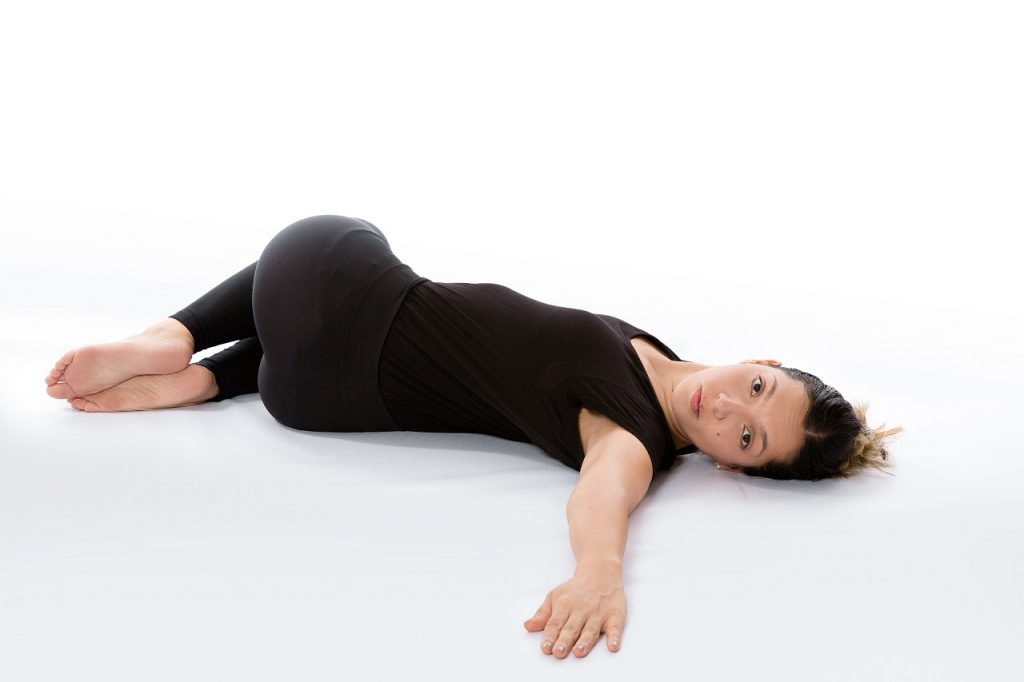
- Lying on your back, bring your arms out to the sides with the palms facing down in a T position. Bend the right knee and place the right foot on the left knee
- Exhale and drop the right knee over to the left side of your body, twisting the spine and lower back
- Gently push your right knee using your left hand to touch the ground
- Make sure your right arm is extended out to the side at shoulder height
- Breathe and hold for 6-10 breaths
- To release, inhale and roll the hips back to the floor, and exhale the leg back down to the floor. Repeat the same process on the other side.
3. Malasana
Also known as the Garland Pose, it is good for digestion as it helps you release all the gas out of your system that is blocking your intestines from functioning normally. 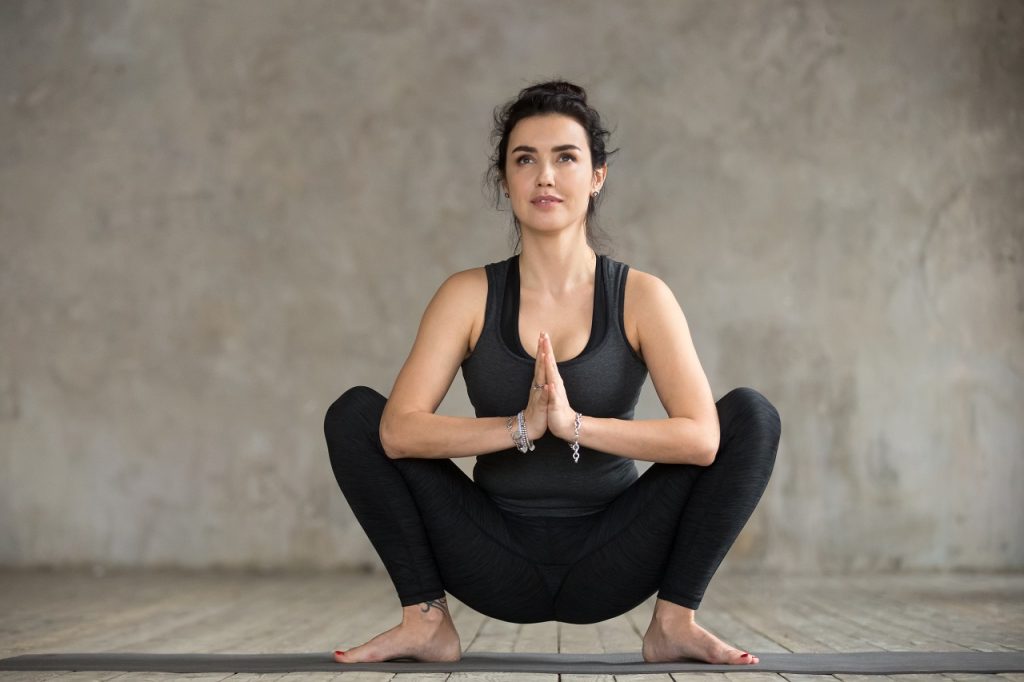
- Begin in the Mountain Pose (Tadasana), with your feet slightly wider than hip distance apart
- Bend your knees deeply, sinking down until your hips are lower than your knees, a few inches off the floor
- Bring your palms together at heart center and wedge your elbows one at a time, to the inside of your knees
- Push your elbows into your knees to open your hips and gently press the inside of your knees into your elbows
- Stay in this pose for 30 seconds to a minute
- To get out of the pose, either sit back onto your buttocks or push back up to standing
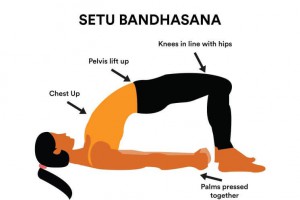
4. Setu Bandha Sarvangasana
Also known as the Bridge Pose, it will open up your gut, allowing blood to flow smoothly and subsequently, will help relieve bloating and pain. 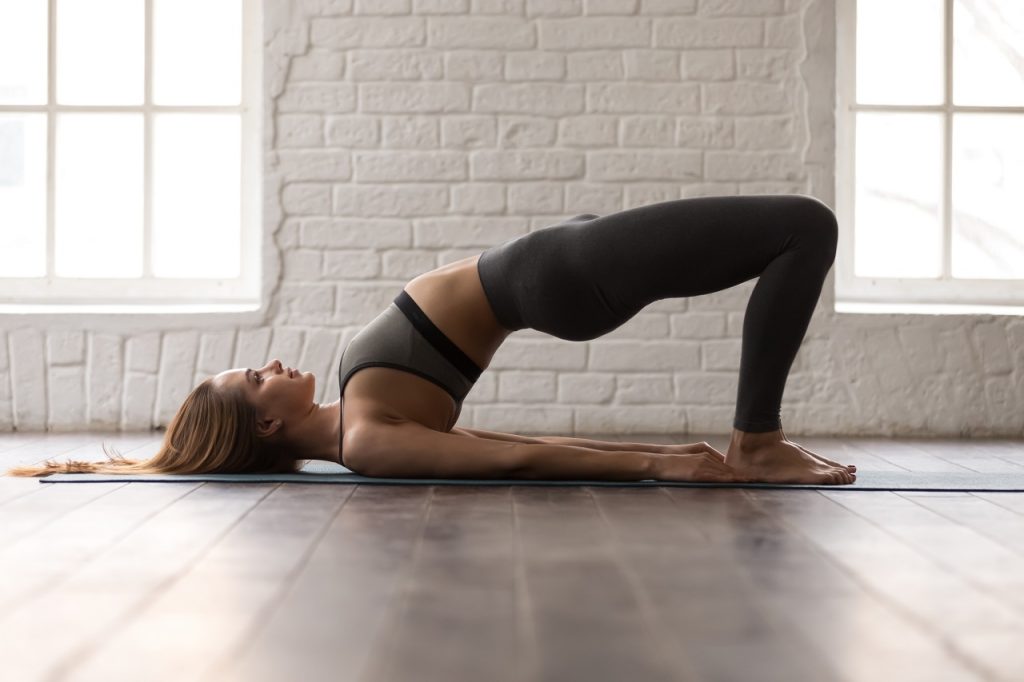
- Lying on your back, place your feet flat on the floor
- Fold your knees and keep your feet hip distance apart on the floor, 10-12 inches from your pelvis, with knees and ankles in a straight line
- Keep your arms beside your body, palms facing down
- On inhalation, press the back of your shoulders and your feet into the floor and lift your hips up
- Lengthen your tailbone, slide your shoulder blades down your back and keep your neck neutral
- Keep your bottom firm up in this pose; Keep your thighs and feet parallel
- Hold the pose at the top for 30 seconds each time before releasing
- To come out of the pose, release the arms and roll your spine down while breathing out
5. Chakravakasana
This pose, also known as the Cat-Cow Stretch, helps relieve bloating by stretching and contracting the abdomen with each motion.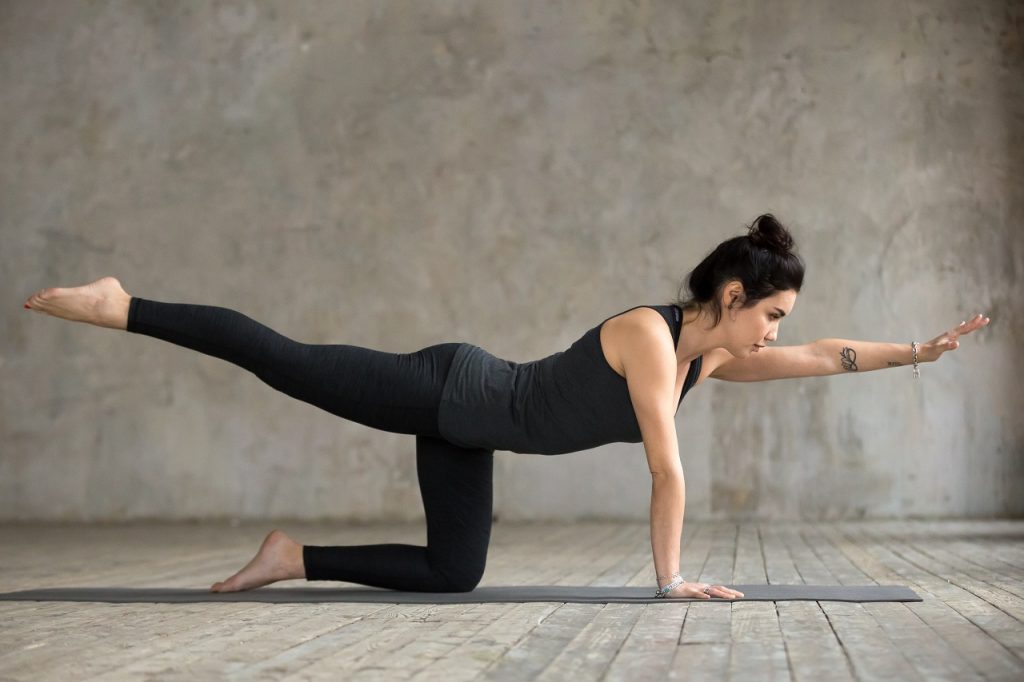
- Keep your hands and knees in the table pose, and your spine neutral
- First begin with the Cow Pose by inhaling as you drop your belly towards the mat. Lift your chin and chest, and look up towards the ceiling
- As you exhale, come into the Cat Pose while rounding your spine outward, tucking in your tailbone, and drawing your pubic bone forward
- Release your head toward the floor, but don’t force your chin to your chest
- Inhale as you come back into the Cow Pose and exhale as you return to the Cat Pose
- Hold each pose for a breath before moving into the other one. Do this for 15-20 breaths
We hope these yoga asanas help you relieve bloating, gas and any other associated pains. Before you begin any yoga practice, do consult your doctor, physician or personal trainer. Kindly ensure that you perform these asanas under proper guidance if you’re a beginner.
For more on yoga, check out Healthy Reads or speak to a certified expert by subscribing to GOQii’s Personalised Health Coaching here.
#BeTheForce


 This posture expands the chest and lungs on both sides
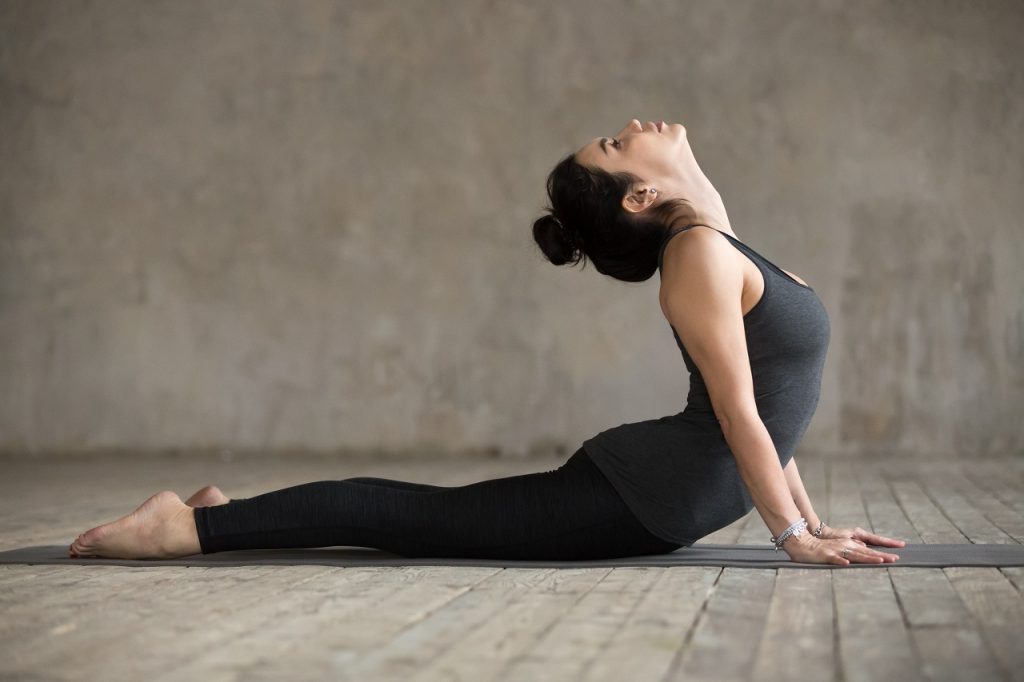 Though there are many benefits through this pose, it expands the chest and lungs to improve the lung capacity
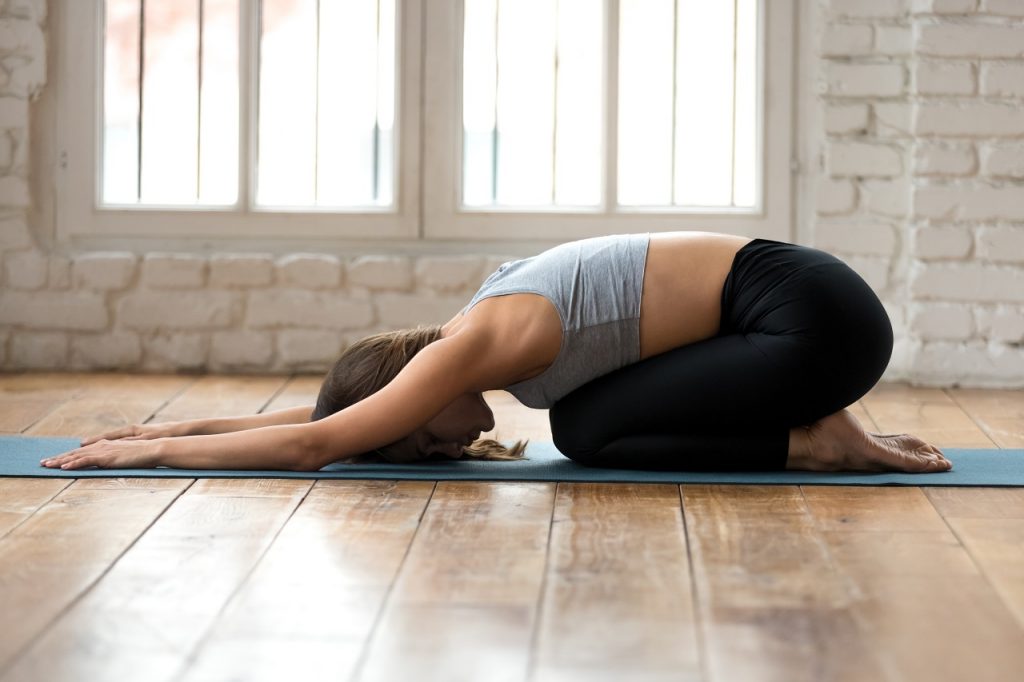 This is one among the easy poses that is suitable for everyone. This is also called as child pose or Baalasana. It improves the lung capacity, expands the back part of the lungs, relieves upper and lower back issues and addresses spine issues